
If you have, or are planning to purchase digital embroidery patterns (I have lots of them in my shop!) you will need to know how to transfer your printed pattern onto fabric. I’m going to show you three different ways to get your digital pattern onto your fabric.
First we’ll look at this amazing stuff called Sulky Sticky Fabric-Solvy. If you love to embroider intricate designs but don’t love tracing them onto fabric, this is what you need! You can print your pattern right onto a sheet of this adhesive stabilizer, stick it to your fabric and stitch away. When you’re done it washes away in warm water.
(By the way, These 3 Sulky products: Sticky Fabri-Solvy, Stick ‘n Stitch, and Stick ‘n Carve are all the SAME product, packaged differently for different uses and markets. 🙂

I purchased a pack of Fabric-Solvy on Amazon, it comes in pre-cut sheets to run through your printer. Just print out your pattern in black ink (This is one of my favorite PDF embroidery patterns available in my shop!) I’ve just printed it out on the Solvy using an ink-jet printer with black ink.
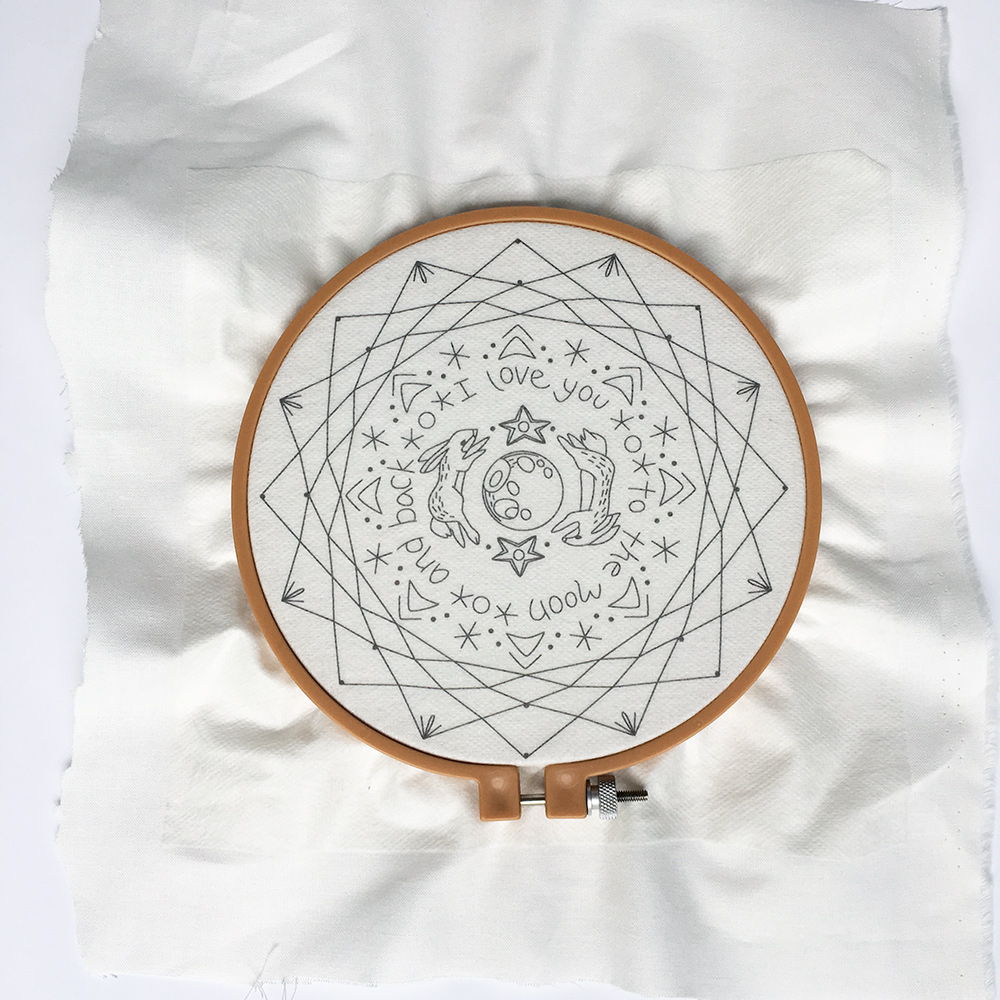
The back peels off and you can stick it right to your fabric and reposition it easily if necessary. When you have it in place, just put it in a hoop and stitch the design through both stabilizer and fabric, following the printed pattern lines. I had no problem with my needle sticking in the adhesive, it doesn’t hinder stitching at all.
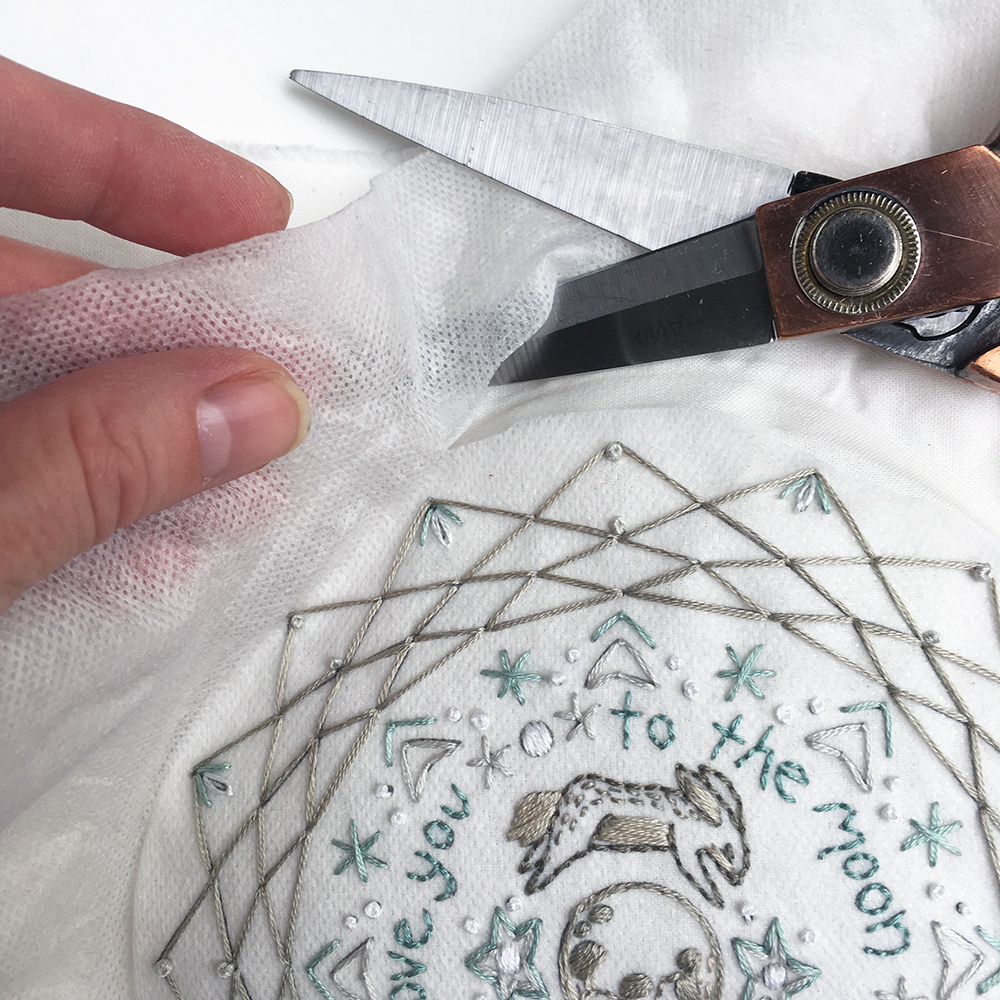
All done stitching! Now carefully peel up the edges and cut away any large areas of stabilizer around the edge of your design.
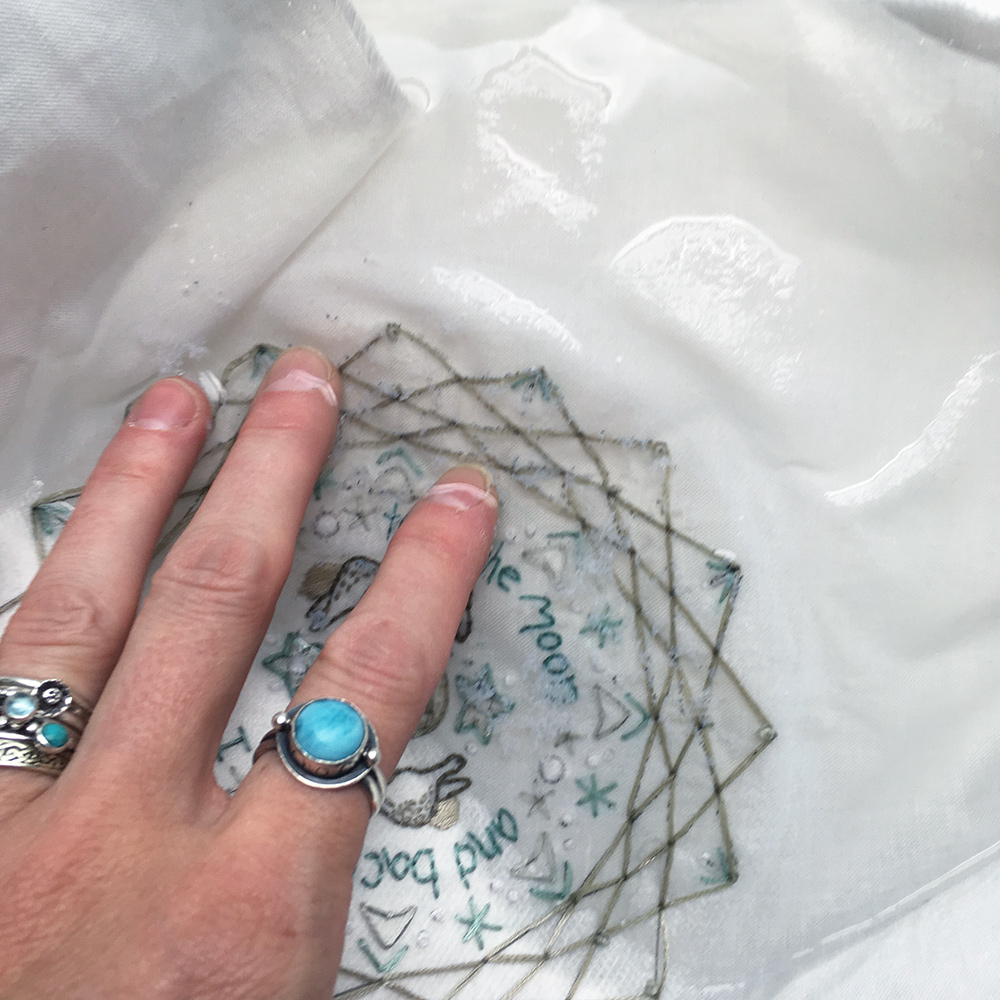
Rinse the fabric in warm water and the stabilizer melts away! It took less than a minute for mine to disappear. Rinse again in clean water, press it out in a towel and dry.

All done! Fabric-Solvy made transferring this pattern so easy. Definitely give it a try!
Now onto technique #2, tracing by hand.
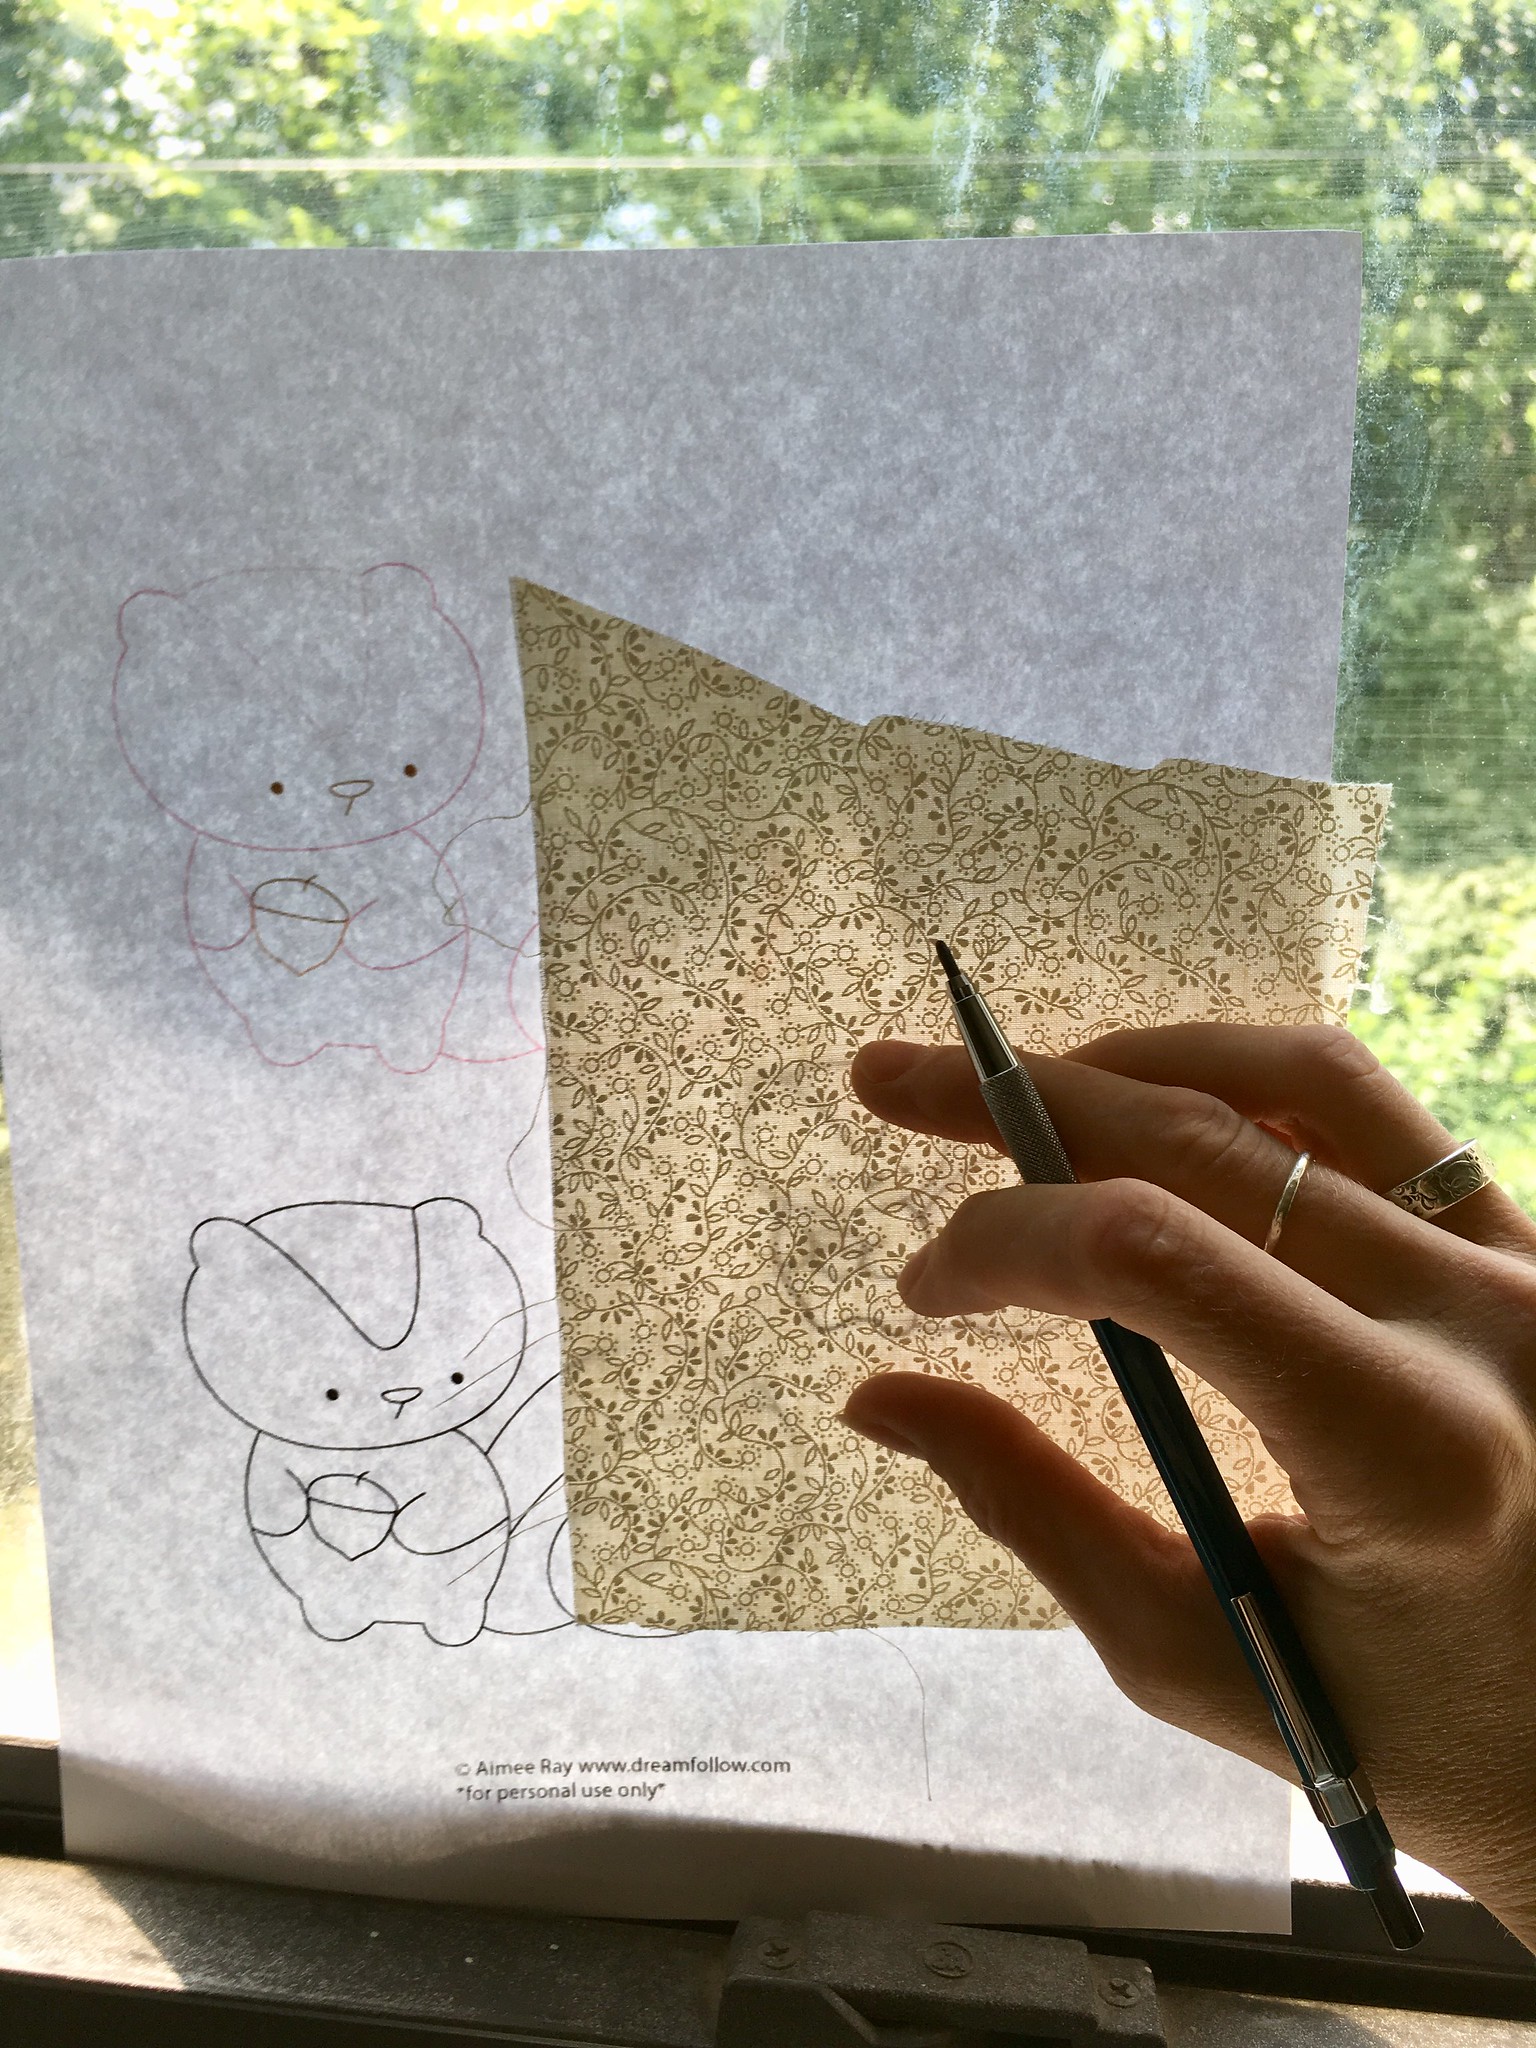
For simpler, easy to trace patterns, I will often just use a sunny window as a light board and trace them onto the fabric by hand!
Just tape the printed pattern to the window and the fabric over it. Trace it onto the fabric with a pencil, or a removable fabric pen or marker that will disappear in water when you’re done stitching.
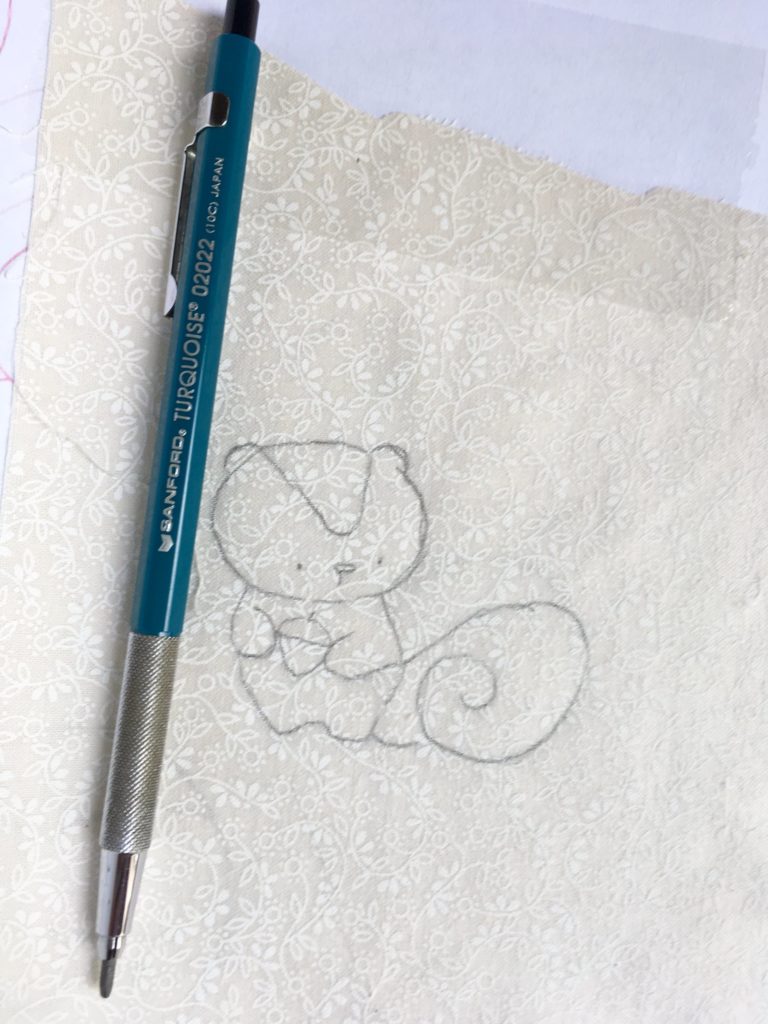
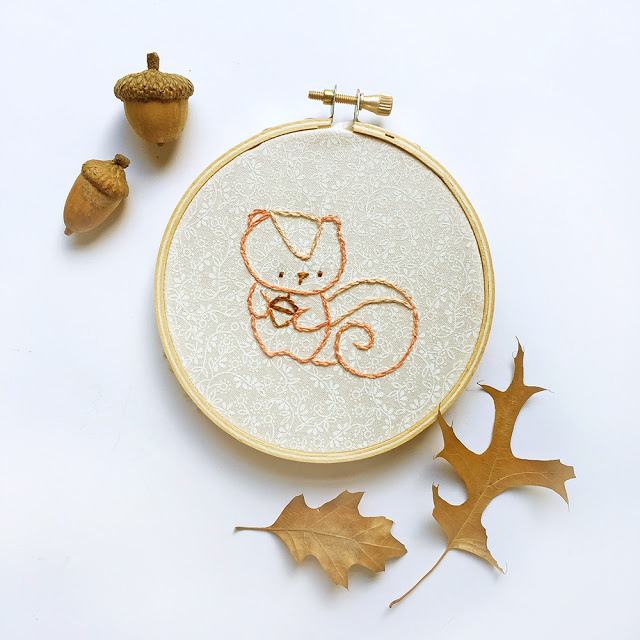
All ready to stitch! (You can grab this cute Chipmunk pattern from my Free Downloads Vault when you’re subscribed to my newsletter! xo)
Lastly, here is way to make your own Iron-On transfers! (Photos of printing and ironing are kinda boring, so I made this little illustration instead. 😉

1. Print out your design on a Laser printer, or make a Photocopy. (Inkjet won’t work.) Just use plain white paper, nothing special.
Remember to reverse the design first, especially if it includes type. Black lines are best.
2. Place your printout face down on your fabric and iron it on (dry iron, cotton setting.) The lines will transfer onto your fabric. Depending on what type of fabric and paper you’re using, you may get a few uses out of your transfer.
3. Start stitching. Easy!
I will say that I’ve heard from different people getting very different results from this technique, it can vary a lot depending on the type of printer, ink and paper you’re using.
It’s always a good idea to test out any transfer method on a scrap piece of fabric first, just to be safe. 🙂